Meta Quest 2 is one of the most advanced all-in-one VR headsets that offer a virtual world experience in gameplay and watching videos. Though it’s a standalone VR headset, it can be used with PC and consoles. Now, if you’re encountering the BONELAB crashing on Meta Quest 2 VR headset while launching it, then you’re not alone.
Well, here we’ve shared some of the troubleshooting methods for you that should help to resolve the startup crashing issue with the game on your Meta Quest 2.
It’s quite unfortunate that even VR headsets are prone to crashing issues with video games with or without being connected to the PC.
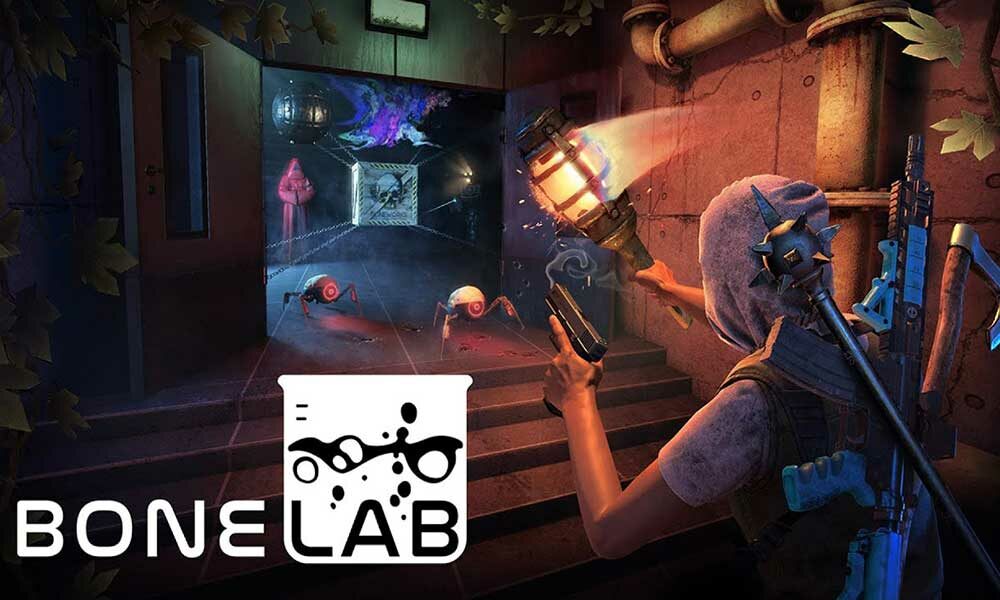
Stress Level Zero has done good work with the release of BONELAB a new experimental physics action video game that offers a mysterious lab.
Here in the gameplay, you’ll find out weapons, enemies, challenges, and plenty of secrets inside the lab. Luckily, you can follow the workarounds below to easily fix such an issue on your Meta Quest 2.
Restart Meta Quest 2
If you’re having any kind of trouble with your Meta Quest 2 such as temporary glitches or lags or slow loading up issues then you should reboot the headset by following the steps below.
- Select Restart from the Power Menu.
- Your headset will turn off and then turn back on automatically.
If in case, you’re unable to restart your Oculus Quest 2 headset then you can follow the steps below:
- Press and hold the Power button on the headset for at least 10 seconds.
- It’ll turn off your headset > Now, wait for 30 seconds more.
- Then press and hold the Power button again until your headset turns back on.
- Once your headset is turned on or the boot logo appears, wait for the system to load.
Tweak in-game Graphics Settings
You can adjust the settings for the graphic performance of your Meta Quest 2 + Link from the Meta Quest app on your computer. By adjusting the graphic performance settings, you should be able to reduce game crashing issues on your VR headset. To do so:
- Open the Meta Quest app on your computer.
- Click on Devices on the left side of the app.
- Click on Quest 2 and Touch.
- Scroll down to Graphics Preferences.
- You can adjust your Refresh Rate and Render Resolution.
- Refresh Rate: The number of times your Meta Quest 2 screen updates with new images each second. You can set your refresh rate to 72 Hz, 80 Hz, or 90 Hz.
- Render Resolution: Adjusts the resolution that the app or game you’re using is being rendered. The maximum render resolution you can set is 5408 x 2736 pixels.
Keep in mind that while increasing your refresh rate and render resolution, these two options will result in improved visuals. However, these two adjustments could have a negative impact on overall performance.
Even with some of the newest and most powerful GPUs, maxing out values for the render resolution slider with a 90 Hz refresh rate may result in dropped or missing frames, which creates a less smooth in-VR experience.
Check for Quest OS Updates
When there is a new software release, your Meta Quest 2 or Meta Quest headset will update automatically when connected to Wi-Fi and turned on.
Please Note: Your Meta Quest 2 or Meta Quest will not update automatically while turned off or in sleep mode.
To make sure your software updates automatically, make sure to:
- Charge your headset sufficiently.
- Keep your headset turned on.
- Now, your Meta Quest 2 or Meta Quest headset is connected to a Wi-Fi network.
- Leave your headset on a flat surface without moving it or blocking the inside sensor for an extended period of time.
Get the latest tips and guides delivered to your inbox

Or click on this link to subscribe email newsletter. We also hate spam! You can unsubscribe at any time. Check to follow.it Privacy and Our Privacy.
To manually check for software updates:
- Press the right Touch controller to pull up the universal menu.
- Head over to the clock icon on the left side of the universal menu.
- When Quick Settings appears, select it to open the Quick Settings panel.
- Select Settings in the top right corner.
- Choose System > Select Software Update from the left menu.
- You can check your current software version. If there is a new version available, a download button will appear to install the update.
Try Reinstalling BONELAB on Quest 2
If you no longer use the BONELAB game or if you need to free up storage space on your VR headset device, you can remove an app from your Meta Quest 2 or Meta Quest by uninstalling them from your headset.
To uninstall an app from your Meta Quest 2 or Meta Quest headset in VR:
- Press your right Touch controller to pull up your universal menu.
- Locate and hover over the BONELAB game that you want to uninstall.
- Select Uninstall > Select Uninstall again to confirm.
- Once done, make sure to reboot the headset to apply changes.
Once the BONELAB game is uninstalled, you can now try reinstalling the game on your Meta Quest 2 VR headset by following the steps below.
- Head over to the universal menu by pressing the Oculus button.
- Look for the Oculus Store.
- Find the BONELAB game that you want to install. [BONELAB link]
- Select Get and Download it > Wait for it to install.
- Once done, launch the BONELAB game to check for the issue.
Contact Meta Quest Support or Stress Level Zero
If still Bonelab crashes on Meta Quest 2 then you should try contacting the official @StressLevelZero Twitter page or Meta Quest Support for further help. It’ll be better for you to contact and create a support ticket so that the support team can dive deeply into it.
Credit: Meta Quest Help
For more news updates and guides, follow this blog. If you have any queries just mention them in the comment section below, till then stay tuned.
You can also follow us on Google News and Telegram Channel for real-time notifications whenever we publish any post.
Follow us on social media – Twitter, Facebook, and Instagram. You can also subscribe to our newsletter for daily updates.


