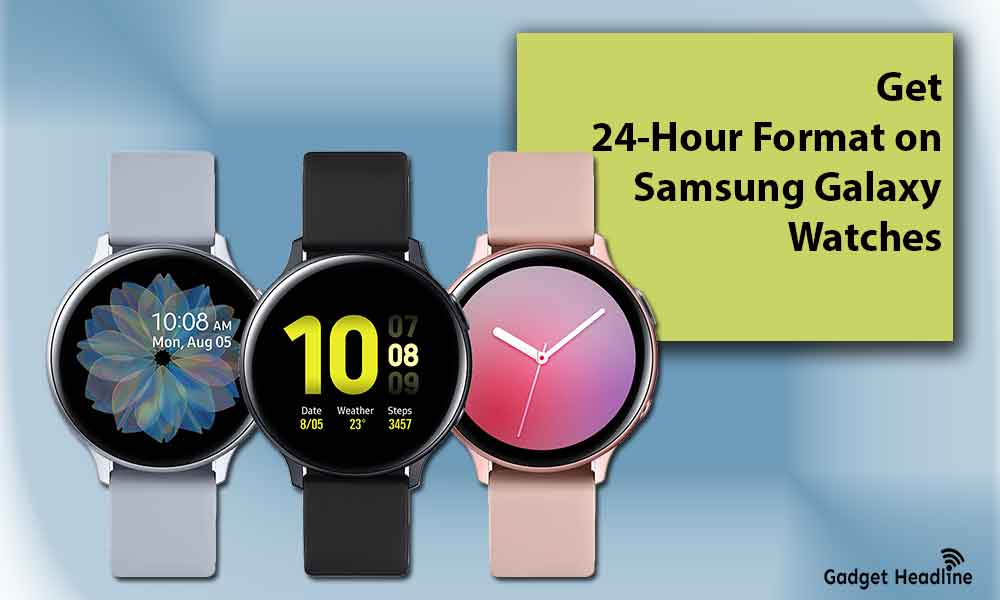
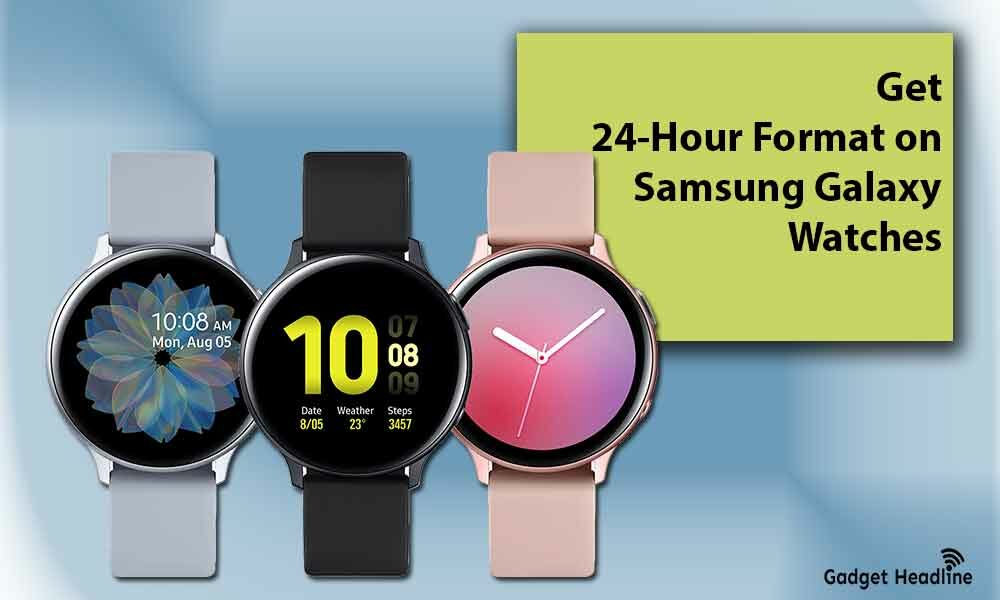
Samsung company is one of the flamboyant brands and provides excellent electronics products and services to its users. Samsung Galaxy Watch 3 is one of them and it’s the most well-known and considered the best smartwatch in the Samsung Galaxy Smartwatch series. Unlike Apple Watch it is compatible with both iOS and Android phones. However, there’s a lot of things the Galaxy Watch can do, and it’s actually worth buying. In this article, we’ve managed to provide you a simple guide that will help you to Change 24 Hour Format on Samsung Galaxy Watches.
There’re people out there, who prefer a 24-hours clock format instead of 12-hours. Those who own Samsung Galaxy Watches are struggling to set a 24-hours format. Without further ado, let’s get started.

How to Change 24 Hour Format on Samsung Galaxy Watches
Follow the guide till the end to get 24-hour format Samsung Galaxy Watches.
Step 1: Make sure that you’re Samsung Galaxy Watch is updated to its latest version. There’s are a lot of updates and also, some settings don’t work if the device is not updated to its latest version. And the same goes for your watch.
Step 2: Most of the devices adopt the date and time through the network. Also, they can adopt from your smartphone when it’s connected. You can put your watch in the Standalone mode, in order to get 24-hour time settings.
Step 3: Change the settings of your watch, first visit your Home Screen, press the Home button located at the side of the watch. Then follow the instructions so that you can use date settings to get 24-hour format.
- Double-tap on the gear icon to open the Settings menu
- Tap on the General option
- Visit Date & time
- Tap on the Date to change it
- Tap on Set Time to change it
- Tap on the Time Zone if needed
- Tap on the 24-hour format option
Most of the Samsung Galaxy Watches follow the same settings but may differ in wording and names.
Step 3: Actually, Samsung Galaxy Watches don’t have a 24-hour format but you can get it by standard US 12-hour format, it will happen just by turning on a simple feature.
- Visit your Home Screen and tap on Settings
- Go to Clock
- Select the Date and time tab
- Search for Auto-Sync
- Uncheck the Auto Sync feature
- Make the changes in date and time you want
- Exit the menu
That’s it for now. You can comment below for your further queries or your experiences. Till then stay tuned for more info. You can also follow us on Google News or the Telegram group below for real-time notifications whenever Gadget Headline publishes any post.
[su_button url=”https://news.google.com/publications/CAAqLggKIihDQklTR0FnTWFoUUtFbWRoWkdkbGRHaGxZV1JzYVc1bExtTnZiU2dBUAE?oc=3&ceid=IN:en” target=”blank” style=”3d” background=”#32afed” size=”5″ center=”yes” radius=”0″ icon=”icon: newspaper-o” text_shadow=”5px 10px -5px #444f57″ rel=”nofollow”]Follow Us on Google News[/su_button]
[su_button url=”https://telegram.me/gadgetheadlinenews” target=”blank” style=”stroked” background=”#32afed” size=”5″ center=”yes” radius=”0″ icon=”icon: paper-plane” text_shadow=”5px 10px -5px #444f57″ rel=”nofollow”]Join Telegram for Tech Updates[/su_button]


![How to Use Bing AI Chat in Any Browser [Easy Steps] How to Use Bing AI Chat in Any Browser [Easy Steps]](https://www.gadgetheadline.com/wp-content/uploads/2023/10/How-to-Use-Bing-AI-Chat-in-Any-Browser-Easy-Steps-450x270.jpg)

